
The short answer
If concrete has hardened inside an excavator bucket, stop trying to shake or beat it out while the bucket is suspended. Park on stable ground, lower and support the attachment, isolate the machine, and keep people out of the impact and attachment-change zones. Loose residue may be removable with an approved hand tool after safe de-energization. A solid mass may require a controlled mechanical method or a correctly matched hydraulic breaker, but the exact carrier, coupler, hydraulic settings and manufacturer procedures must control the job. The 37-second field video behind this guide is a useful demonstration of the problem, not a complete safety procedure.
01
What the field video shows
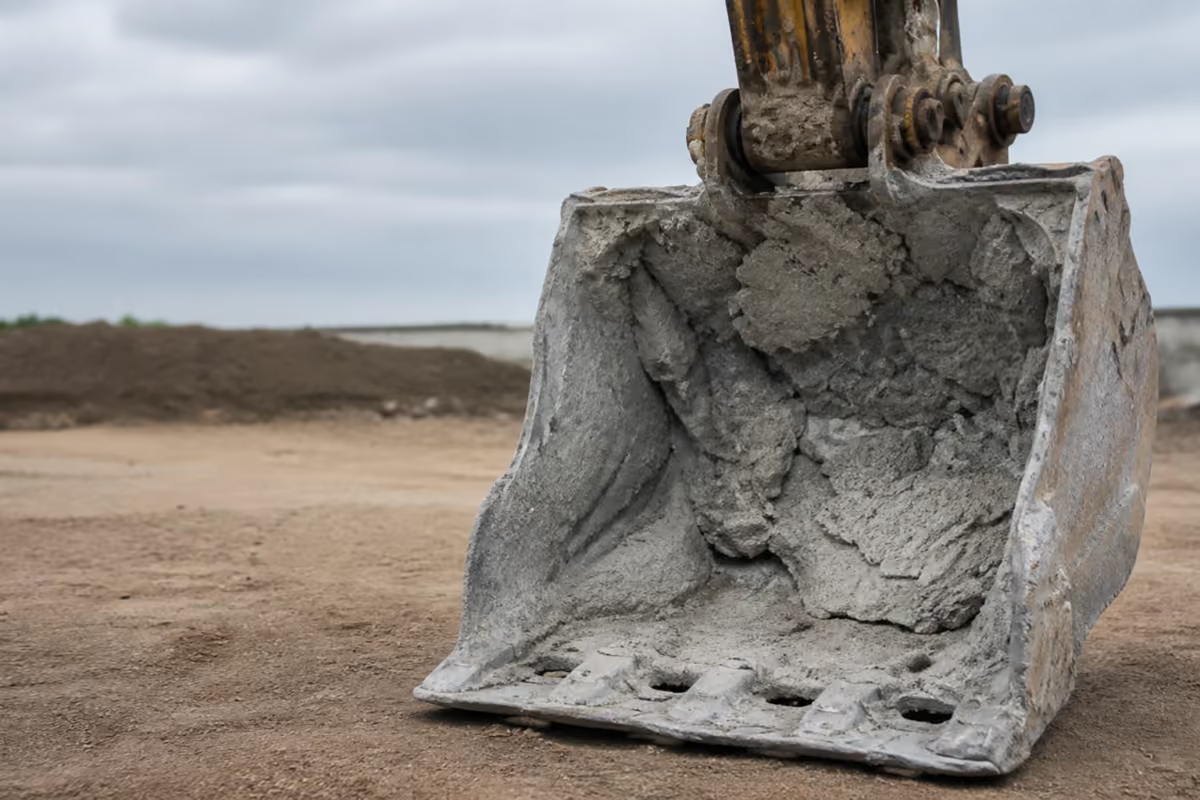
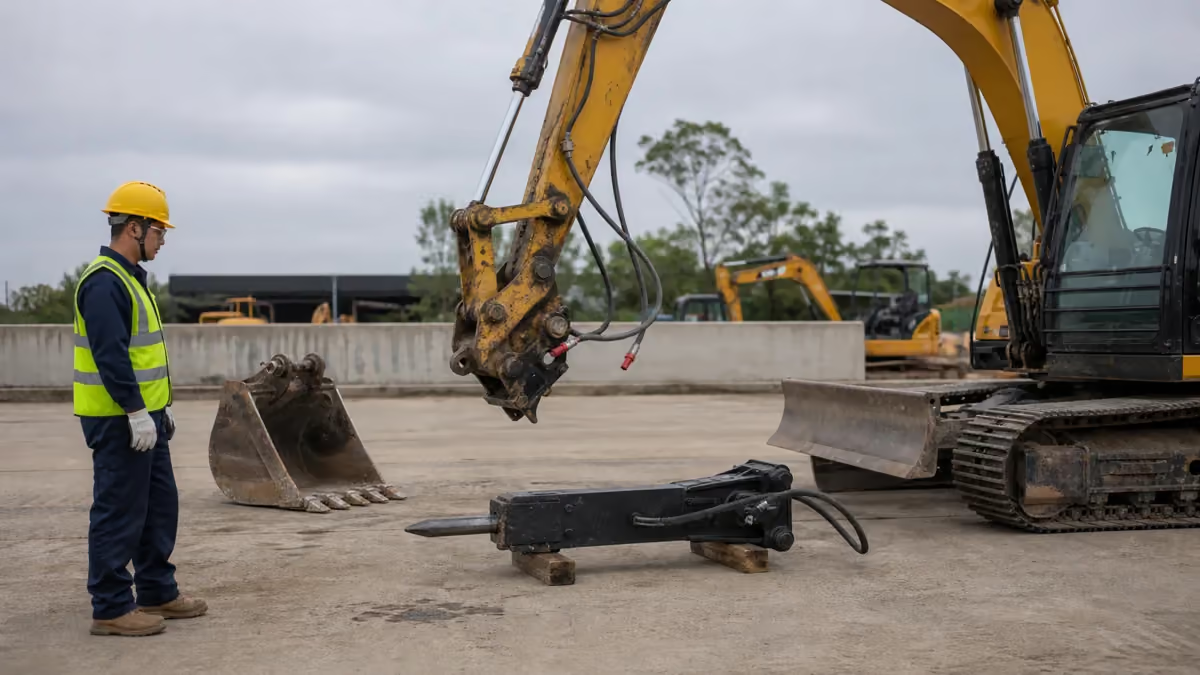
The bucket is packed with material that has already cured. Swinging a large hammer against it does not free the mass. The crew then removes an attachment from another excavator, aligns a hydraulic breaker, installs the retaining pins, connects the hydraulic lines, opens the line valves and uses the breaker to fracture the concrete.
The practical lesson is simple: once concrete has bonded into one solid plug, more manual force may add risk without producing a useful crack. The plan should change from “hit it harder” to “stabilize, select a compatible tool, control the impact and inspect the bucket afterward.”
The video does not show every step needed for a real job. It does not establish the carrier-breaker match, hydraulic flow and pressure settings, pressure-relief procedure, coupler verification, exclusion zone, personal protective equipment or post-removal inspection. Those details must come from the exact machine, coupler and breaker manuals plus the employer’s site plan.
02
Stop and assess the bucket before removal
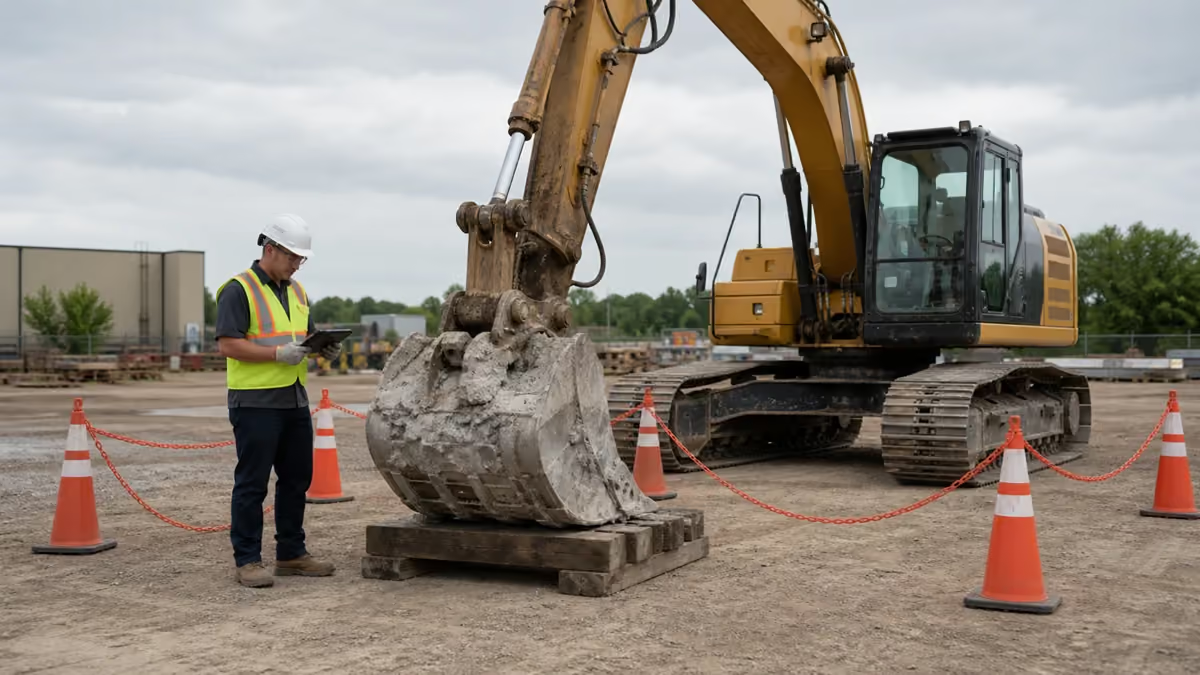
Do not begin with a tool. Move the machine to stable, level ground if that can be done safely. Lower the bucket to the ground or support it using the method specified for the machine, then shut down and isolate the equipment. Never work beneath an unsupported attachment.
Control the key and every energy source that could move the boom, arm, bucket or coupler. Establish an exclusion zone that includes the possible path of concrete fragments, the breaker tool and any attachment that could move or detach.
Record whether the concrete is a thin bonded layer, several separate lumps or one solid plug. Look for reinforcing steel, trapped debris and cracks at the edges. Inspect the bucket shell, welds, side plates, cutting edge, pins and coupler before impact. Existing cracks, distortion or loose parts are reasons to stop and obtain a qualified repair decision.
03
Choose the least aggressive workable method
No one removal method is correct for every bucket. Use the condition of the concrete and the equipment instructions to select the lowest-force method that can be controlled.
Do not introduce heat or a chemical remover simply because the concrete is difficult to release. Heat can affect steel, welds, seals and coatings. A chemical product may be incompatible with paint, hoses, seals or site environmental controls. Use either only when the relevant manufacturers and site procedure explicitly permit it.
| Bucket condition | Possible approach | Main stop conditions |
|---|---|---|
| Loose residue or uncured buildup | Manufacturer-approved cleanout tool and washout process | Attachment cannot be safely lowered or isolated; runoff cannot be contained |
| Thin cured layer with exposed edges | Controlled manual or shop removal after full support and de-energization | Worker enters a pinch, crush or fragment path; steel begins to deform |
| Several bonded lumps | Planned mechanical chipping or a suitable repair-shop method | Cracked welds, hidden reinforcement, uncertain support or uncontrolled fragments |
| One dense cured plug | Compatible hydraulic breaker or specialist removal plan | Breaker/carrier mismatch, unknown settings, unverified coupler or people in the exclusion zone |
| Damaged bucket, coupler, pins or hydraulics | Stop and obtain qualified inspection or repair guidance | Do not resume impact removal until the damage decision is complete |
The table is a decision screen. The exact machine, coupler, breaker and site procedures remain controlling.
04
Match the hydraulic breaker to the carrier and job
A breaker that physically connects is not automatically compatible. Confirm the carrier’s weight class and attachment capacity; required oil flow and operating pressure; approved auxiliary circuit, return path and any case drain; mounting interface; hose routing and fittings; breaker tool; machine tool-control settings; and engagement, locking and connection tests.Epiroc breaker-selection guidance
Caterpillar advises operators to inspect hydraulic lines for damage, use the specified connection procedure and set the proper flow and pressure for the attachment. It also directs operators to the exact Operation and Maintenance Manual. That machine-specific document takes priority over a generic article.Caterpillar hydraulic-connection guidance
05
Control the attachment change
The video compresses the attachment change into a few seconds. A real change should identify who operates the carrier, who may approach the attachment, how the old tool is lowered, how stored hydraulic pressure is relieved, how disconnected lines are protected, and how the new tool is aligned without placing anyone between moving components.
OSHA’s quick-coupler safety bulletin warns that attachments can release unexpectedly when couplers are not properly engaged and locked. Follow the manufacturer’s installation, inspection, testing and maintenance instructions, use the specified secondary retention system where applicable, and train workers to visually inspect and test the connection.OSHA quick-coupler safety bulletin
After the breaker is connected, keep people clear while the operator performs the manufacturer’s connection check. Stop for damaged hoses, incorrect routing, leakage, a missing retaining device or incomplete coupler engagement.
06
Break the concrete—not the bucket
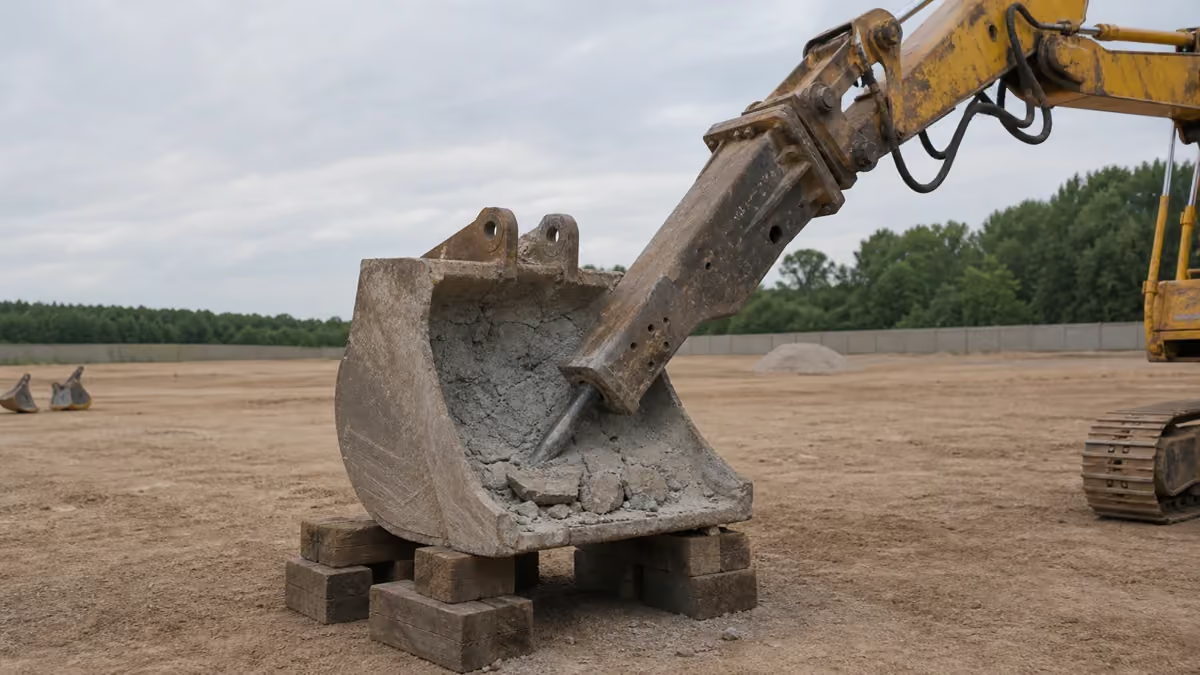
Keep the concrete-filled bucket stable so it cannot swing, roll or close unexpectedly. The breaker operator needs a clear view, a defined impact direction and an exclusion zone large enough for fragments and unexpected tool movement.
Use only the breaker manufacturer’s operating technique. Start a controlled fracture in the concrete and reposition as the crack opens. Do not drive the tool into the bucket shell, cutting edge, side plate, teeth, coupler or pins, and avoid long uncontrolled hammering at one point.
Stop immediately if the bucket shifts, steel deforms, a weld opens, a pin or coupler moves, a hose leaks or the breaker begins striking the bucket rather than the concrete. The field video supports only a limited conclusion: a breaker fractured a cured concrete plug that a sledgehammer did not release. It does not prove that the same method, carrier or settings are safe for another machine.
07
Inspect the bucket after the concrete is removed
Removal is not finished when the last large fragment falls out. Clean loose debris from a safe position, then inspect the bucket shell, floor, side plates, cutting edge, teeth or adapters, heel plates, gussets and welds for fresh cracks, polished impact marks, distortion, opened seams and hidden residue.
Inspect pins, bushings, coupler contact points and retaining devices, then check the breaker, tool, hoses and fittings. If you find a crack, bent plate, loose adapter, damaged coupler part or hydraulic leak, tag the equipment out of service and obtain a qualified repair decision.
When no damage is found, perform the manufacturer’s post-attachment-change and functional checks from a clear area before returning the machine to production.
08
Prevent the next concrete plug
Empty the bucket as soon as the concrete task ends and remove residue while it is still workable with the approved cleanout tool. Use only an authorized washout area and contain runoff under the site environmental plan.
Keep wash water away from electrical components, bearings and hydraulic openings unless the machine instructions allow the method. Inspect corners, heel areas, teeth and the coupler interface before parking. Use a release product only when the bucket, coating, concrete and site requirements all permit it.
Add end-of-shift bucket cleanout to the operator checklist when the machine handles concrete regularly. A few minutes of controlled cleanout can prevent a later attachment change, impact-removal task and possible bucket repair.
10